We moved from a small 650 square feet home to a 1000 square feet home that also came with a small house in the back yard. So that is where we sat up what we call our school house. Parents do not need a school room or even a school house to homeschool their children. It just happened that the house we bought it had it. Do you want to see it?

This is the entrance to our school house

This is our circle time area (sorry it came fuzzy, I'll fix it soon)

This is again our circle time area and reading area. I bought this white board at
a local school warehouse for 5 bucks! The shelf it is an ikea shelf turned sideways I bought at a garage
sale for 12 dollars. On that shelf (bench) I have our music speaker on the right, 3 pillows I bought at ikea for resting on or seating on (dirt cheap, 1 dollar and 50 cents!)

Here is what I store all of our circle time materials:
Music instruments, question of the day box, scarves, circle time board and its parts that go
with it and also our projector that we got for 5 bucks at our local school warehouse.

This is our geography corner.

Math shelves on the left. The water dispenser and on the right it is
our practical life shelves.

Here you can see the practical life shelf on the left and the science and sensorial shelf on the right.

A closer look to the practical life shelf:
Top: nuts and bolts board my husband made.
Middle from left to right: bean spooning, shape button sorting, marble spooning on a ice
tray, color sporting beads that have to be picked up with a tooth pick.
Bottom left to right: styrofoam sheets with tooth picks and beads, thongs pom pom sorting on a ice tray, water transfer tray with a wash cloth for cleaning, and the last is 3 dressing frames.

Science and Sensorial shelf:
Top from left to right: nature tray, brown stairs.
Middle: Zoology work, season sorting cards, geometric solids and 3-part cards, mystery bag.
Bottom: knobbed cilinders, velcro dots on popcycle sticks, beads.

Here you can see beside my son's silly face the entrance to the art studio/language area


The left part of this room is the art studio.

This is the art shelf where I set trays with art activities.
Top: marble painting
Middle: is a thing I bought at the dollar store where the kids set the beads on a plastic tray and then you iron it together, and next to it is heart stickers and paper.
Bottom: water color q-tip painting, and next to it a tray with paper plates for making a heart and gluing pom poms.

This shelf that also my husband made long time ago I'm using it for storing some art materials and different materials for coloring or my kids to use however they want. I still have to add a few things like a glue sponge that I wanted to make (DIY Glue Sponge) and other things but I am waiting for my husband to make a shelf like the one shown below.
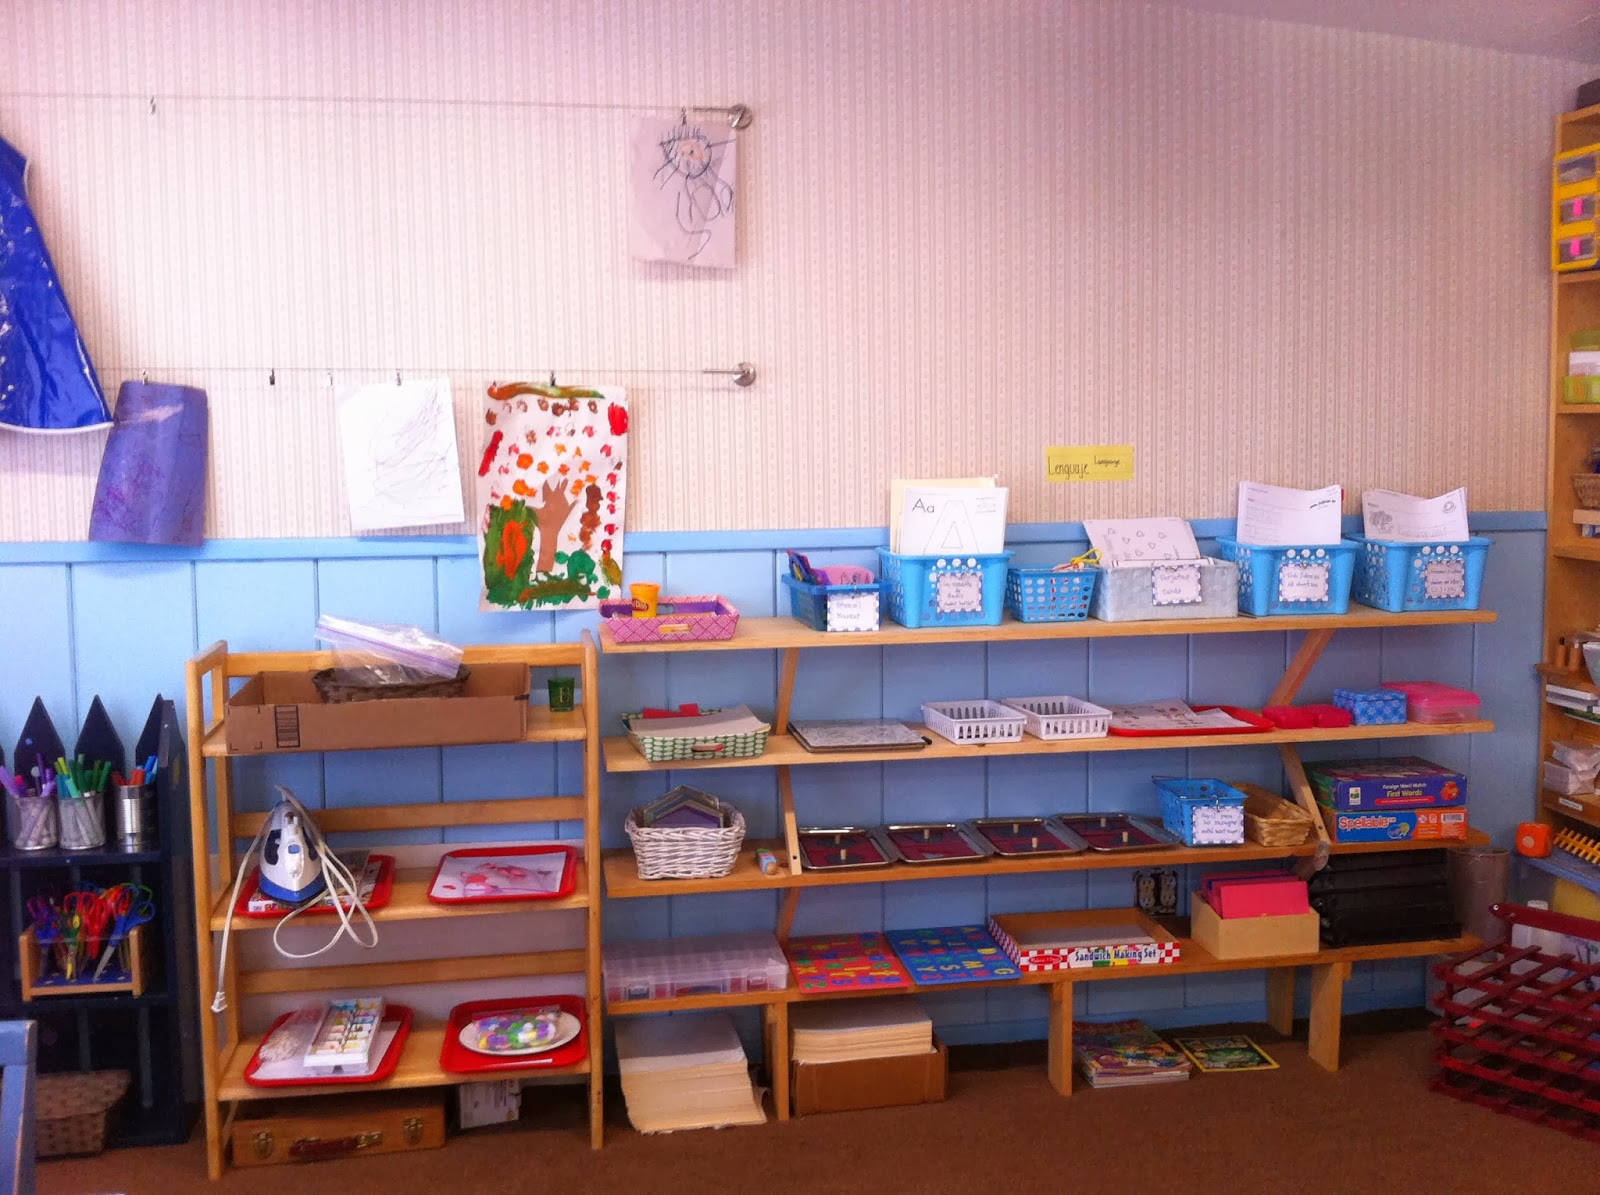
On the left you can see our 2 art shelves then on the right is our language area.
My husband made the shelf for us!! Thank you love! The top 2 shelves are the writing shelves and the 2 bottom the reading shelves.

That is our storage area. On the floor is the drying rack that my husband made and that still has to be screwed to the wall.


Our art easel.
I am going to make a video so you can see it for yourself. I am very excited to start! I moved to this house and it seems that it took for ever to get it ready. So I am so looking forward to our first homeschool day of the year!!!
If you like you can leave a comment below!! I love to hear what you think and even suggestions about what could I add or change!
No comments:
Post a Comment